Open topic with navigation (left menu)
This topic describes how to use the video recorder. If you want to know what you can use the video recorder for, click this topic: Sound and video recorders.
 Opening the recorder
In order to use the recorder, you must go to a location in itslearning where the editor appears. Click on the video recorder icon in the editor toolbar: ![]() When you use the video recorder, this warning pops up.
When you use the video recorder, this warning pops up.
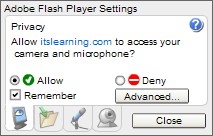
This warning is completely harmless, but in order to allow your computer to record video in itslearning, you must click Allow. You can turn off this message in the recorder settings. See Adjusting the settings below.
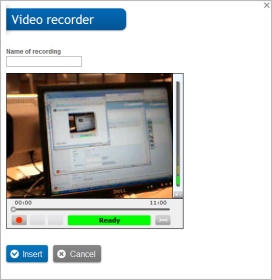
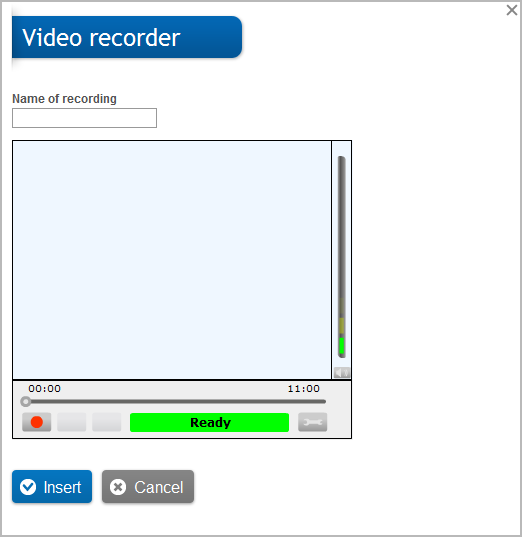
When you have clicked Allow, the player looks like this:
 Adjusting the settings
The recorder has some built-in settings that are useful to look at before you start recording. You can find the settings by clicking this icon in the player:
![]()
You can adjust the following settings:
 Privacy
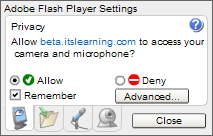
The Privacy tab is the first one that you encounter when you click the settings icon. In this tab you can select whether to display the warning that pops up when you click on the recorder icon. Click Allow and then check the Remember box. If this box is checked, the warning message does not show up again.
Click the Advanced tab to go to  Adobe's Flash Player help.
 Local storage
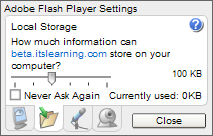
The recorder stores the sound or video that you record on your computer, and the amount you can store is limited to 100 kilobytes unless you agree to allocate additional space. Local storage settings let you specify how much disk space, if any, the recorder can use to store information on your computer. Use the slider to adjust the amount of information you want to store. You can also see the  Adobe help on this subject.
 Microphone
Under the microphone tab, you are allowed to select a microphone, adjust its sensitivity, and reduce the echo that may come from your speakers.
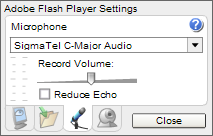
Read more about this subject in the  Adobe help.
 Camera
The camera pop-up menu displays all the cameras that the recorder finds on your computer. Here you are allowed to change the default camera, if you have more than one. Read more about this subject in the  Adobe help.
 Recording video
In order to record, click the red recording button:
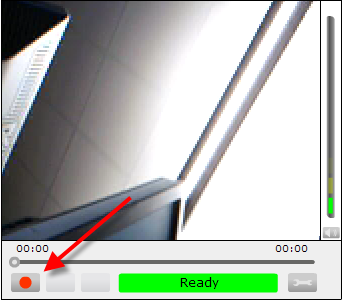
When you start recording, this screen appears:
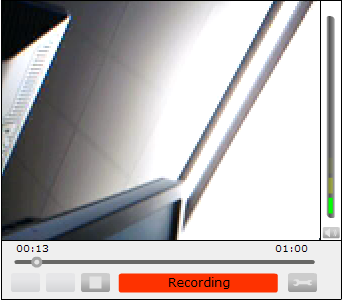
To stop the recording, click the stop button:

The video recorder now looks like this:
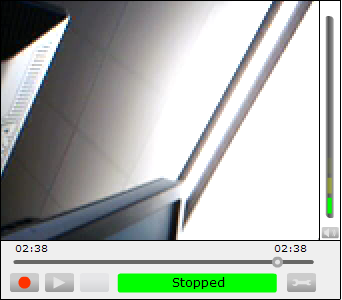
Click the play button to view your recording:

If you want to insert the video recording into an element, click the Insert button. You will then see a white square with a logo inside it:

You have now inserted the recording into the element with which you are working.
Copyright © 2015 itslearning™ – All rights reserved itslearning.net Using the help